Working on a new project I was exploring different boards online to select the most useful one based on my project requirements. After much exploration and reading I selected BeagleBone to start working on initially. I already have a lot of boards, some backed on Kickstarter, some bought online, some gotten for free! Incidentally I had a PocketBeagle lying around which was gifted to my co-founder by none other than one of the designers of BeagleBone and of OSHPark Drew Fustini while he was visiting California and attended one of the Hackaday meet-ups on my instructions of course.
Since it is a BeagleBone pocket, it has issues with direct Wifi Connectivity. You can connect to it via its own DHCP server, but you don't have internet access. To do that you need internet sharing, which caused quite a lot of initial trouble however due to a great tutorial I figured it out. Following are the steps to get started with PocketBeagle.
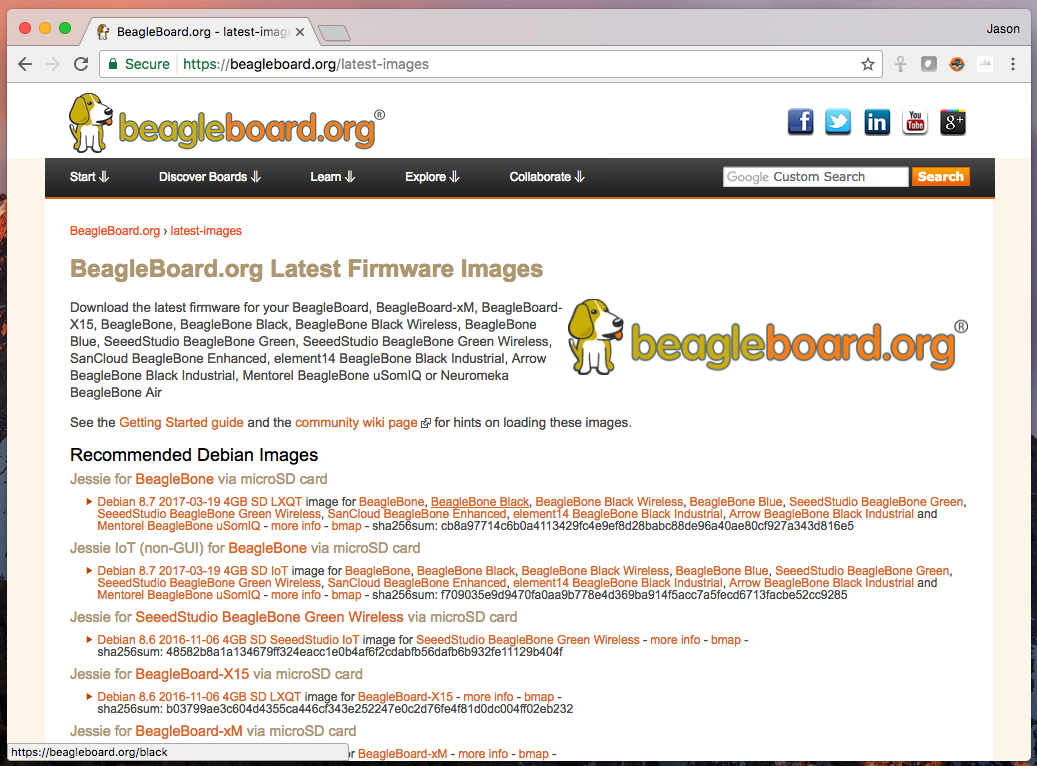
Step 1: Download Image
https://beagleboard.org/latest-images
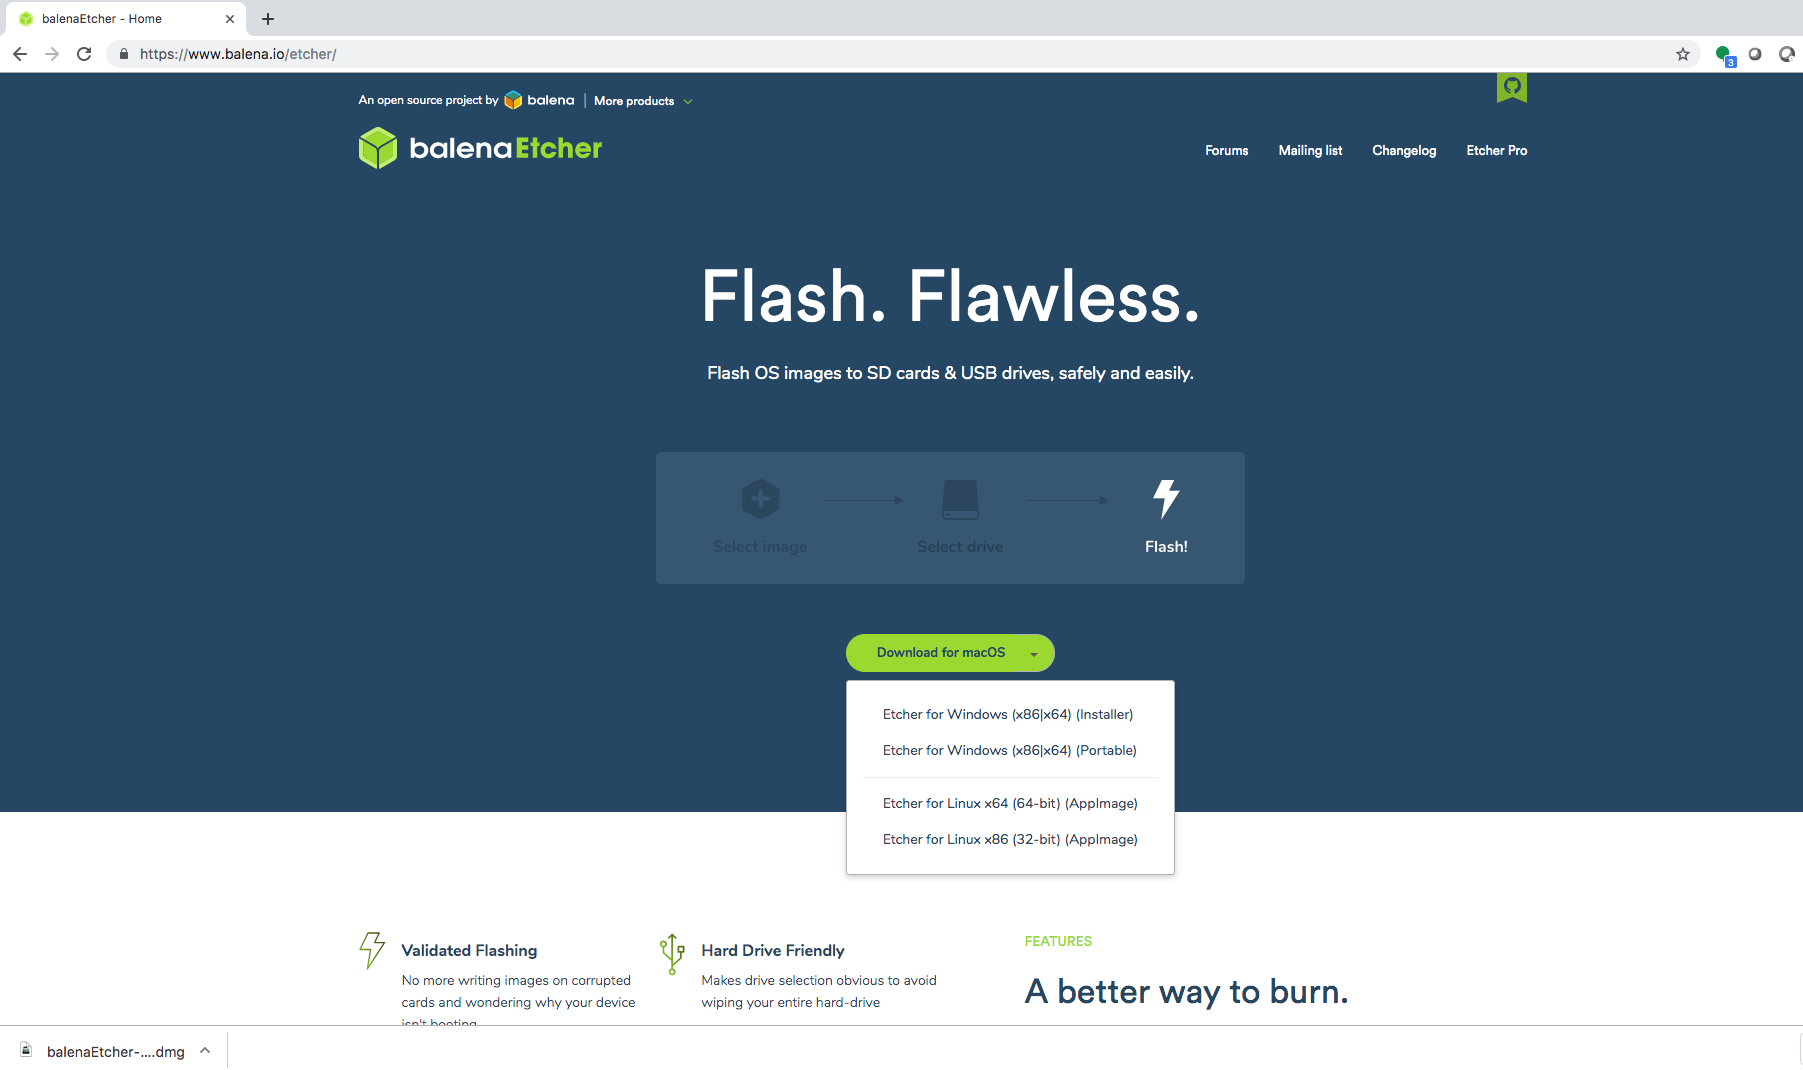
Step 2: Using Etcher write image to SD Card
https://www.balena.io/etcher/
Eject SD Card, insert into PocketBeagle and boot it up. Ideally power it via your USB port, that will also help in sharing your internet connection through your MAC (I use Macbook)
Step 3: Boot up and connect via ssh
Open a Terminal window and SSH into PocketBeagle
ssh debian@192.168.6.2
pwd: temppwd
Step 4: Figure out how to share internet connection
To share your internet connection with your PocketBeagle, follow the tutorial on
https://www.hackster.io/hologram/sharing-internet-with-the-pocketbeagle-on-osx-cd62b2
Note the above tutorial is OSX specific. There are other tutorials available if you're on Windows or Linux.
Step 5: Moving towards installing ROS
After fixing the issue of connecting the PocketBeagle to the internet, I will now try installing ROS (Robotics OS) on my PocketBeagle which is the requirement of my project.
http://wiki.ros.org/indigo/Installation/UbuntuARM
Next post coming up on ROS on PocketBeagle


No comments:
Post a Comment