Wednesday, November 7, 2018

Pocket Beagle Getting Started


Working on a new project I was exploring different boards online to select the most useful one based on my project requirements. After much exploration and reading I selected BeagleBone to start working on initially. I already have a lot of boards, some backed on Kickstarter, some bought online, some gotten for free! Incidentally I had a PocketBeagle lying around which was gifted to my co-founder by none other than one of the designers of BeagleBone and of OSHPark Drew Fustini while he was visiting California and attended one of the Hackaday meet-ups on my instructions of course. 


Since it is a BeagleBone pocket, it has issues with direct Wifi Connectivity. You can connect to it via its own DHCP server, but you don't have internet access. To do that you need internet sharing, which caused quite a lot of initial trouble however due to a great tutorial I figured it out. Following are the steps to get started with PocketBeagle.


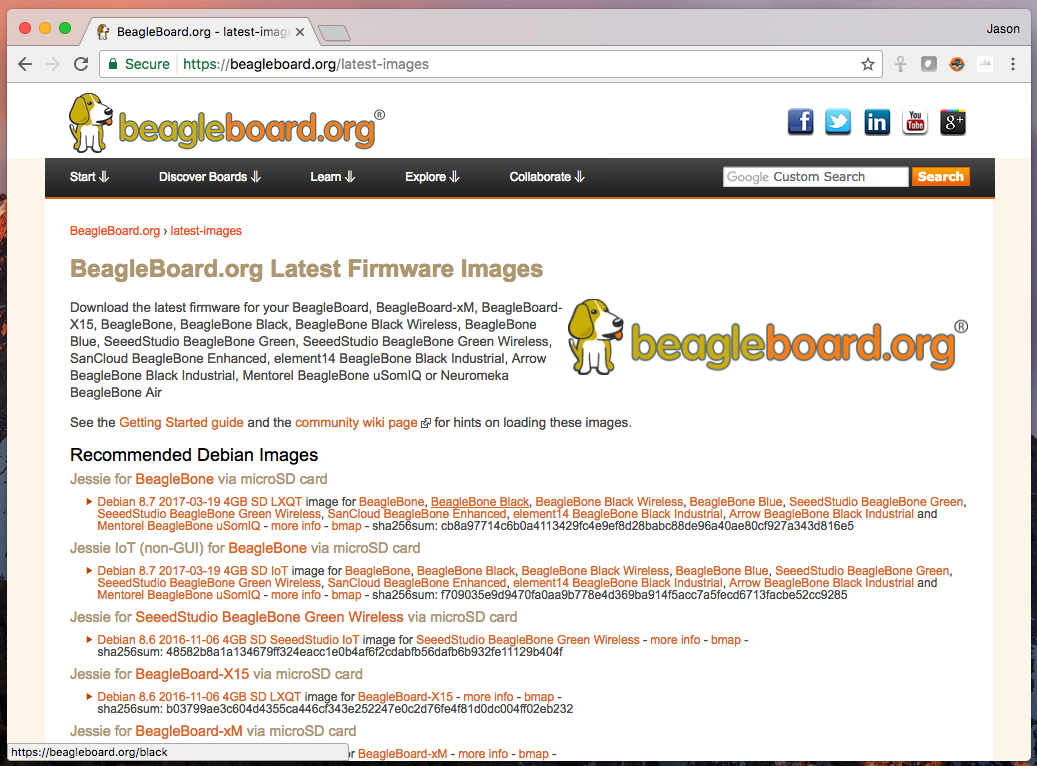
Step 1: Download Image
https://beagleboard.org/latest-images


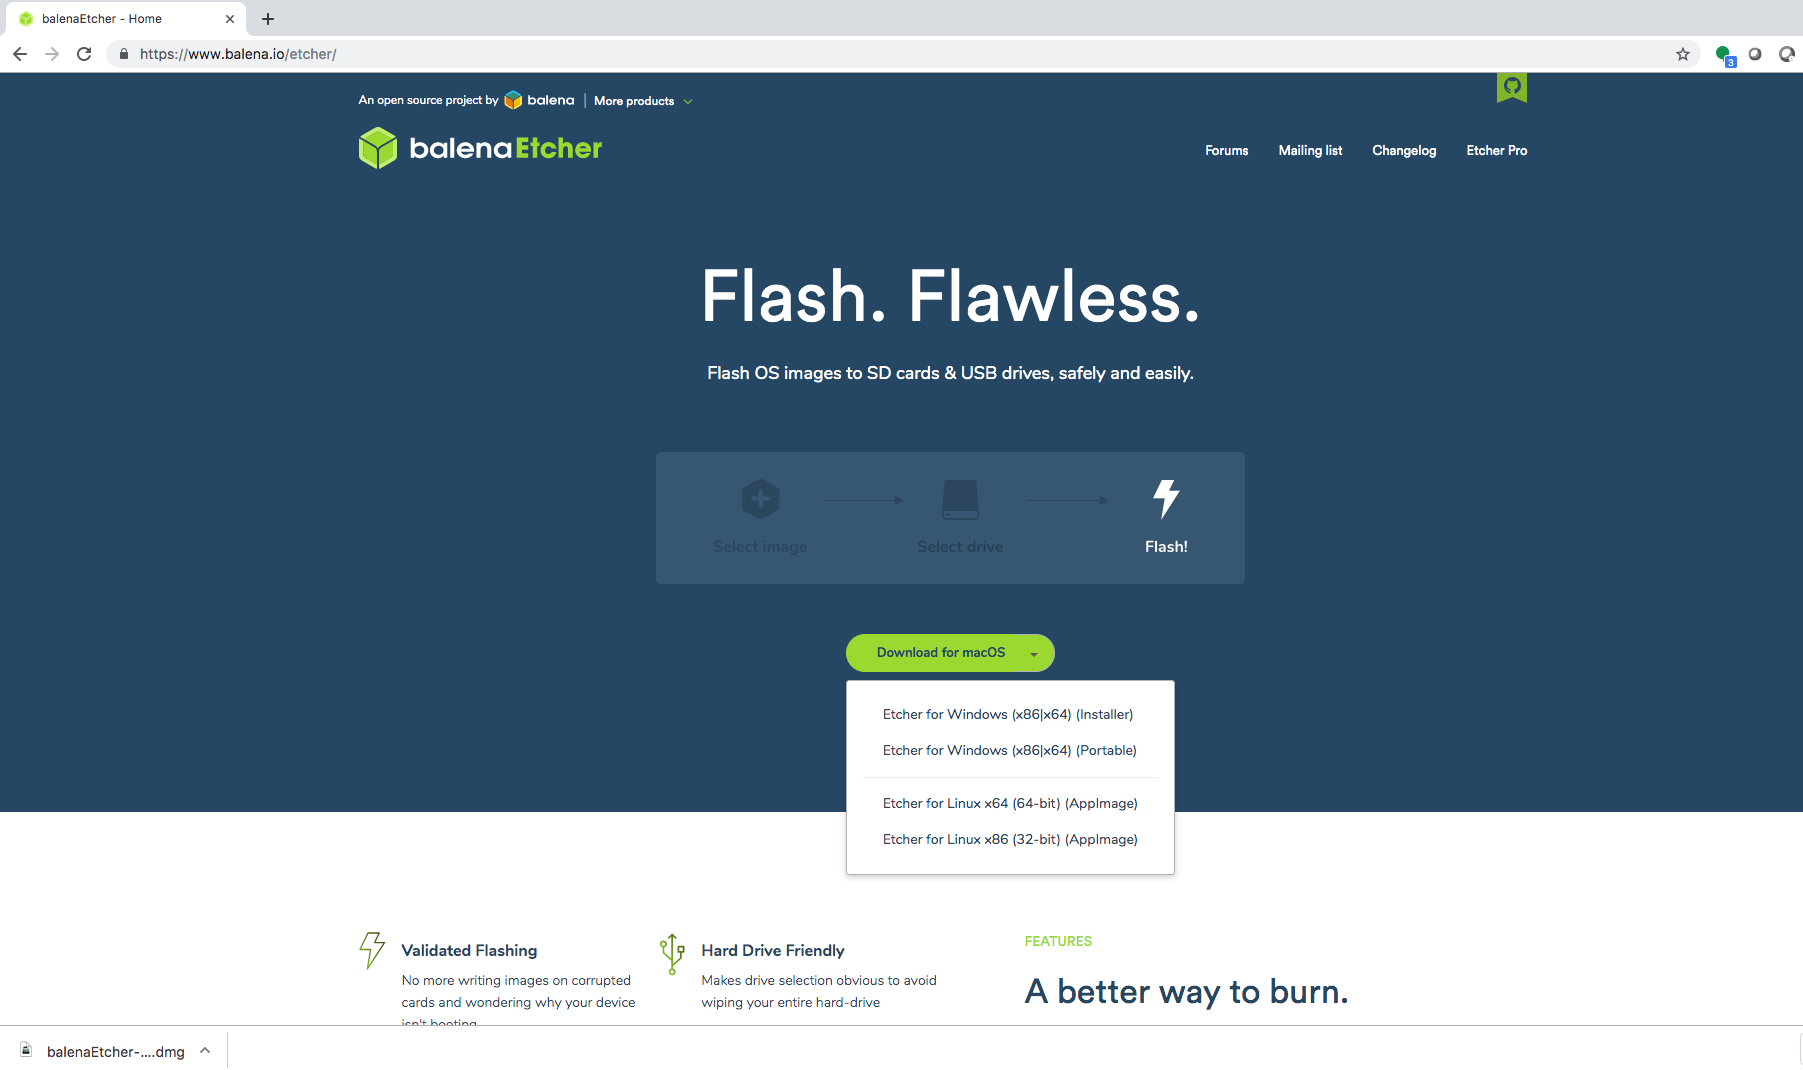
Step 2: Using Etcher write image to SD Card
https://www.balena.io/etcher/
Eject SD Card, insert into PocketBeagle and boot it up. Ideally power it via your USB port, that will also help in sharing your internet connection through your MAC (I use Macbook)

Step 3: Boot up and connect via ssh
Open a Terminal window and SSH into PocketBeagle

ssh debian@192.168.6.2
pwd: temppwd


Step 4: Figure out how to share internet connection
To share your internet connection with your PocketBeagle, follow the tutorial on
https://www.hackster.io/hologram/sharing-internet-with-the-pocketbeagle-on-osx-cd62b2 
Note the above tutorial is OSX specific. There are other tutorials available if you're on Windows or Linux.

Step 5: Moving towards installing ROS
After fixing the issue of connecting the PocketBeagle to the internet, I will now try installing ROS (Robotics OS) on my PocketBeagle which is the requirement of my project.

http://wiki.ros.org/indigo/Installation/UbuntuARM

Next post coming up on ROS on PocketBeagle


Thursday, July 12, 2018

Home at Kallar Kahar


My parents have always been adventurous but not in the traditional sense! They have always managed to find adventures with everything they do. No one would think about building their retirement home in a remote location in Pakistan, yet here they are in the middle of no where, with the most scenic views, they have built one of the most beautiful houses of Pakistan! With opposition from almost everyone in the family, they still travelled around 150 kms 3 to 4 times a week for a year to build their dream house!

Wednesday, July 11, 2018

Playing with e-Paper

Like all other technologies ePaper fascinated me when it was first launched. As part of my first startup failure, I tried developing a product using ePaper, turns out what I was trying to build was already there in the form of Yota phone by a Russian company. While trying to build a similar product I tried to work with ePaper however the original inventors had pretty close IP and would not work with small startups and the Chinese versions that I tried working with were without any proper documentation. 

Finally after years I can now play with ePaper by buying cheap off the shelf displays by waveshare configured to work for the Raspberry PI as a HAT. So let's see this cool display technology! I was inspired by the instructable to get started with my experiment. 

Required Hardware:
  1. Raspberry PI (I worked with Raspberry PI Zero W)
  2. 2.7 or any other size Waveshare ePaper HAT display

Step 1: Install the required libraries
Step 1 is to install the required libraries for the Raspberry PI using the steps on the link


You will need to install 
  • C library for bcm2835
  • Python libraries for Raspbian
    • RPI.GPO and spidev
      • In the case of these libraries a simple pip install RPI.GPO / pip install spidev should work
    • python-smbus
    • python-serial
    • python-imaging
Step 2: Configuring the interfaces
On the same link you will need to configure the interfaces I2C, serial and SPI. You can use the steps mentioned above or simply use the start menu->Raspberry Pi Configuration -> Interfaces

Step 3: Run the demo code
Download the demo code and run using Python.

import epd2in7b
import Image
import ImageFont
import ImageDraw
#import imagedata

COLORED = 1
UNCOLORED = 0

def main():
    epd = epd2in7b.EPD()
    epd.init()

    # clear the frame buffer
    frame_black = [0] * (epd.width * epd.height / 8)
    frame_red = [0] * (epd.width * epd.height / 8)

    # For simplicity, the arguments are explicit numerical coordinates
    epd.draw_rectangle(frame_black, 10, 130, 50, 180, COLORED);
    epd.draw_line(frame_black, 10, 130, 50, 180, COLORED);
    epd.draw_line(frame_black, 50, 130, 10, 180, COLORED);
    epd.draw_circle(frame_black, 120, 150, 30, COLORED);
    epd.draw_filled_rectangle(frame_red, 10, 200, 50, 250, COLORED);
    epd.draw_filled_rectangle(frame_red, 0, 76, 176, 96, COLORED);
    epd.draw_filled_circle(frame_red, 120, 220, 30, COLORED);

    # draw strings to the buffer
    font = ImageFont.truetype('/usr/share/fonts/truetype/freefont/FreeMonoBold.ttf', 18)
    epd.draw_string_at(frame_black, 4, 50, "e-Paper Demo", font, COLORED)
    epd.draw_string_at(frame_red, 18, 80, "Hello world!", font, UNCOLORED)
    # display the frames
    epd.display_frame(frame_black, frame_red)

    # display images
    frame_black = epd.get_frame_buffer(Image.open('black.bmp'))
    frame_red = epd.get_frame_buffer(Image.open('red.bmp'))
    epd.display_frame(frame_black, frame_red)

    # You can get frame buffer from an image or import the buffer directly:
    epd.display_frame(imagedata.IMAGE_BLACK, imagedata.IMAGE_RED)

if __name__ == '__main__':
    main()

Unzip the demo code, locate the python folder and in the terminal run python main.py. If all the libraries installed successfully, you should be able to see the display refresh and display demo text and shapes. 


Tuesday, June 26, 2018

Setting up Django Project: Part 1

Environment:

  • Visual Studio Code
  • MAC OSX

Frameworks:

  • Django
  • Bootstrap (UI)
  • Python 3.6
  • CondaMini for Virtual Environment
  • Github for version control


Preset:

  • Visual Studio Code already installed


Step 1: Create a new folder

Step 2: Install miniconda for setting up the virtual environment

  • https://conda.io/miniconda.html

Step 3: Install and Test Conda

  • Open Terminal in VS Code and run conda --version
  • Re-start Terminal by typing exit whether you are using builtin VS Code terminal or regular terminal window
  • Type conda --version to verify conda installed 
  • If you see conda 4.5.4 or something similar, conda is working
  • Getting started guide with conda https://conda.io/docs/user-guide/getting-started.html 


Step 4 : Create a virtual environment with Django

  • conda create --name [envName] django
  • Select yes to download and create the virtual environment


Step 5: Activate / Deactivate virtual environment

  • Once the virtual environment is created use
  • source activate [envName]
  • to deactivate: source deactivate
  • the keyword source is required on MAC OS
Step 5(a): Checking for existing virtual environments [Edited]

  • conda info --env
  • You can see which virtual environments have been created using the above command. We can see two
  • The one with the * is the active one

base                  *  /Users/shamyl/miniconda3
SLS                      /Users/shamyl/miniconda3/envs/SLS
                         /anaconda3/envs/myEnv

Step 6: Create first Django Project
  • django-admin startproject [projectName]


Step 7: Create an app within your django project
  • python mange.py stratapp [appName]

Step 8: Run your server and test it out

  • python manage.py runserver


Step 9: Create GIT Repository and commit to Master
  • I'm using GitHub Desktop
  • Created a new repository
  • Gave it a name and pointed it to the local directory where the project is saved
  • Gave a summary and description and pressed the commit to master button to create the first master

Thursday, June 14, 2018

Flying DJI Tello with GO Programming Language


I recently bought DJI Tello which is essentially a DJI technology based drone developed by Ryze Tech a Schenzen based Company. The idea behind buying this drone was to explore how to use it in LearnOBots sessions where I teach kids about coding and technology. One of the first things I did was to fly the drone using it's android app. The second thing I did was to fly it by writing a program in the Go programming language.

According to its website Go is an open source programming language that makes it easy to build simple, reliable and efficient software. I chose it as GoBot can be used to easily program the DJI Tello. GoBot is a framework for robotics, physical computing and IoT writing in the Go programming language. GoBot supports a wide variety of devices including Arduino, BeagleBone, CHIP, DJI Spark and Tello, ESP8266, OpenCV, Raspberry PO, Sphero BB-8 and many many more. 

So let's get started with this blog post about programming my DJI Tello with GoBot. 

Step 1: Install Go:
You first need to install Go from the following link


Step 2: Installing GoBot
Then open up a command prompt or Terminal and type the following command to install GoBot tools

$ go get -d -u gobot.io/x/gobot/

Step 3: Connect to Tello
Turn on your Tello and connect to its WiFi. The WiFi will be named like TELLO-XXXX. 

Step 4: Write your program
You can run the following example taken from the GoBot site. I use the Atom editor and save the file as tello.go. You can give it any name or extension. As long as you have Go installed, you should be able to run the Go program from the command line Terminal.
package main

import (
        "time"

        "gobot.io/x/gobot"
        "gobot.io/x/gobot/platforms/dji/tello"
)

func main() {
        drone := tello.NewDriver("8888")

        work := func() {
                drone.TakeOff()

                gobot.After(5*time.Second, func() {
                        drone.Land()
                })
        }

        robot := gobot.NewRobot("tello",
                []gobot.Connection{},
                []gobot.Device{drone},
                work,
        )

        robot.Start()
}

Step 5: Run your program and fly the drone

Then go back to your Terminal (command prompt on windows) and run your Go Program by typing 

Go run tello.py


Here is a video of the Test Flight


For full API reference you can visit
Hope you can buy and enjoy programming and flying your own Drone!

References:

Tuesday, June 12, 2018

Full Stack Developer in a couple of weeks


Image source: http://www.sparity.com/services/full-stack-engineering/

Recently I've shifted from full time teaching to full time at my company. One of the differences that I've felt is that I have more time for my own learning. In my previous role as a University teacher, I needed to learn things and then figure out a way to explain them as well. Whereas in my new role as CTO, I can spend more time on learning for myself and not worry about figuring out the best way to teach others. Since my early days in CS, I've never felt comfortable as a web programmer or a designer. I've been mostly involved in embedded programming. Therefore, this was one area that I always felt uncomfortable in. However in my new role, I had to be up to speed with web application development, in order to work on some new products. Just like I always do, I tried to find the shortest way possible to get up to speed with full stack development. I searched around a bit for MOOCs on CourseraUdacity, Udemy read some tutorials, downloaded a few free ebooks. 


After searching around for a few weeks, I finally landed on this udemy course Python and Django full stack Web developer bootcamp which I felt met my requirements of getting started with Full Stack development. The course is pretty well organized and there are a number of components, that I'm already pretty good at, however the organization of the course makes it a very good reference to get started with Full stack web development. It covers, both front end and back end frameworks and also teaches the basics of code maintenance, deployment and some great sample projects. In the course, you can also very easily follow the author's way of setting up your PC for working on different web projects. For example, he makes great use Atom, GitHub, Chrome as well as other tools like the virtual environment. The course covers basics of HTML, CSS, Javascript, Bootsrap, jQuery for front end; Python and  Django for back end. The full curriculum can be seen here

The best part is I purchased it for a mere $10 which is a little more than Rs 1000 and I believe that it has turned out to be great value for money. I would highly recommend this course for someone who is a beginner or would like to quickly get up to speed with Full Stack web development. 

Friday, June 1, 2018

Reviewing my DJI Mavic Pro!

Made a short review and unboxing of my DJI Mavic Pro! The quality is not so great, but then again, I'm a totally noob video editor!